Skylights turn a dim hallway into a warm room, make kitchens feel larger, and give top-floor bathrooms natural light that electric lights cannot match. But they also puncture a roof that was designed to keep water out. The difference between a skylight that lasts 20 years and one that leaks the first winter is how well the roof system is altered and sealed at the roof opening, and how disciplined the crew is about safety. I have overseen installations on asphalt, metal, and cedar roofs, and I have patched enough improper installs to recognize the common failure points. This article walks through how reputable roofing companies approach skylight installation and flashing, with practical details, real trade-offs, and safety practices to watch for when you hire a roofer.
Why focus on flashing and method, not just the product Skylight manufacturers supply curbs, flanges, and installation instructions. Those parts matter, but the surrounding roofing system and the installer’s choices determine durability. Flashing is the bridge between skylight and roof. It must channel water past the skylight opening without creating new traps. A flawless flashing job respects the roof’s drainage plane, the type of roofing underlayment, and the specific roof slope and pitch. A mistake in sequence, a skipped underlayment layer, or a poorly sealed counterflashing will show up as staining inside the house before a year has passed.
Initial assessment and preparation A careful roofer starts with a site assessment. They look at roof pitch, roofing material, existing ventilation, attic insulation, and whether the skylight will be retrofit or replacement. Retrofit means cutting through the finished roof from above and dropping a skylight into an existing hole. Replacement often removes roofing material and sometimes the old skylight curb, then builds a new curb or installs a skylight with a built-in flange. Each approach has advantages.
On steep asphalt roofs, an integral-flange skylight set under the shingles can be faster and less intrusive. On low-slope roofs, or where the roof covering is metal or cedar, a raised curb with step flashing and counterflashing is usually more reliable. Metal roofs require special attention to thermal movement and fastener detail. Cedar shakes demand careful placement to avoid splitting and to maintain the shingle overlap pattern.
One concrete example: on a 12/12 pitch with triple-layer shingles, we removed two courses plus the felt a foot beyond the intended opening. That extra margin lets you install a new underlayment chase and integrate step flashing without compressing shingle laps. With a retrofit flange-only installation, that margin is often skipped and water has a path under shingles into the opening.
Sequencing work: a trusted sequence prevents future leaks There is a reliable order of operations that experienced roofers follow to avoid mistakes. Get the rough opening right, install underlayment and curb properly, flash from the bottom up so water sheds correctly, and finish with counterflashing that resists uplift. If any step is rushed or reversed, you get a leak.
For clarity, here is a concise step sequence most roofing contractors adhere to when installing a skylight with a curb:
Verify structural framing and rough opening, adding headers or trimmers if needed to distribute loads; cut the roof deck and sheathing neatly to the opening dimensions. Install a continuous underlayment or ice and water shield that extends at least 12 inches beyond the opening on the low side and up the slopes at least 6 to 12 inches on the high side, depending on local code and climate. Build or secure the curb, firmly fastened to framing, with a slight slope on top toward the low side for drainage; seal the curb to the deck with compatible sealant. Apply step flashing pieces at the sides, lapping each shingle course over the top of each flashing piece; integrate the skylight flange or sill flashing into this sequence so that water always sheds over lower elements. Install counterflashing at the upper edge, either woven into siding or set under existing cladding materials, and seal joints with metal-to-metal crimps or approved sealant where appropriate.Those five steps are a compact checklist of the mechanical work. The judgment calls come in the details: how far to extend underlayment, whether to use self-adhering membrane in valleys, and how to terminate counterflashing depending on wall siding.
Flashing materials and why choice matters Roofers commonly use a combination of materials: galvanized or stainless steel for counterflashing, galvalume or aluminum for step flashing on metal panels, self-adhering modified bitumen membranes as underlayment, and butyl or polyurethane sealants for details. Each material has strengths and weaknesses.
Galvanized steel is economical and durable, but in coastal climates it can corrode faster. Stainless steel resists corrosion but costs more. Self-adhered membrane is excellent where wind-driven rain is a risk, because it bonds to the deck and sheathing, reducing water migration pathways. However, it is temperature sensitive during installation; if it is too cold, adhesive performance suffers. Polyurethane sealants stick very well to most roofing substrates and stay flexible; avoid simple silicone around bituminous materials because adhesion varies and compatibility is limited.
A trade-off example: on an old home with cedar siding and a low-slope roof, we used a raised wood curb wrapped in self-adhering membrane and a stainless counterflashing terminated under the siding. The cost was higher than a flange-only unit, but the client had experienced wind-driven rain and wanted durability. After five years that install had no issues, unlike a neighboring house with a flange-only retrofit that leaked during heavy storms.
Proper fasteners and penetration control Every screw or nail through flashing or skylight components is a potential leak point. Good roofers limit fastener count to what the manufacturer and code require and use neoprene- or EPDM-washered screws in metal flashing where appropriate. When attaching curbs, through-fastening into framing is the right move; avoid blind nails that only hold into sheathing.
Where fasteners penetrate the skylight flange or curb, replace metal washers with seals designed for roofing and use a compatible sealant under the head if the manufacturer permits it. On tile roofs, crews frequently use tile hooks and lag screws anchored into framing outside the roof plane to avoid over-driving into tiles.
Handle the skylight itself carefully. Many roofers will set the skylight in place only after flashing and underlayment are finished to avoid scratching or warping the frame. If a skylight has a low-profile flange, some installers bed a continuous bead of compatible sealant under the flange in addition to mechanical fasteners for redundancy. That approach must follow the skylight manufacturer’s instructions to avoid voiding warranties.
Dealing with roof types and edge conditions Asphalt shingles: step flashing works well. Replace shingles symmetrically around the opening. Ensure shingle tabs are not cut too short and that the lap lines are consistent. Ice and water shield across the lower edge is vital in climates with freeze-thaw cycles.
Metal roofs: flashing must account for thermal expansion. Use sliding fasteners or long slots where the metal panels meet rigid curbs. Raise the skylight on a curb large enough to keep flashing above standing seams when possible. For through-fastened panels, never rely on silicone alone; mechanical anchorage plus compression seals are required.
Tile and slate: expect to rebuild tile courses around the opening. Use a timber or composite curb to provide a nailing surface and preserve tile overlap. When possible, bring tiles to within one row of the curb and build step flashing over underlayment to lead water away.
Low-slope roofs: a flange-only skylight with no curb is almost never appropriate on roofs below a 3-in-12 pitch. For low slopes, choose skylights with raised curbs and integrate continuous self-adhering membranes up and over the curb to prevent ponding water from finding seams.
Safety on the roof: what reputable roofing companies practice Installing skylights involves elevated work, cutting roof decks, and handling glass or acrylic glazing. Professional roofers behave like trained tradespeople. Key safety practices I insist on, and that reputable roofing contractors follow, include fall protection for any work above OSHA trigger heights, secured ladders, harnesses where anchors are available, roof anchors properly rated and installed, and attention to loose debris that can cause trips. On fragile roofs, such as old tiles, the crew uses walkway boards to distribute loads and avoid breaking tiles.
I also require tool tethering for any tools or fasteners used near the edge. A dropped socket that shatters a skylight or injures someone below is not an acceptable outcome. When cutting sheathing, crews wet down dust or use dust collection to reduce inhalation hazards. Given the volatility of some sealants and adhesives, we ventilate enclosed spaces and keep a fire extinguisher close during any torch work.
A short safety checklist I recommend homeowners confirm with their roofing contractors before work begins:
Fall protection plan and use of personal fall arrest systems or guardrails where required. Ladder safety measures and secure access points. Tool tethering and debris control. Dust control and ventilation when cutting into sheathing. Plan for materials staging that avoids overloading roofs or obstructing egress.Communicating with the homeowner and protecting the interior A good roofing company protects both the roof and the inside of the house. That means taping and covering floors beneath the skylight, shutting off HVAC or fans that could draw construction dust into ductwork, and using drop Roofing company cloths in rooms directly below. When flashing work requires removing interior trim around a skylight, communicate whether the contractor will remove and replace trim or leave that to a finishing contractor.
Expect the roofing contractor to explain warranty terms. Manufacturers often provide glazing warranties and separate limits for leaks if their instructions are followed. If the roofer proposes departures from the manufacturer’s instructions for perceived improvements, ask for that in writing and for any effect on warranty coverage.
Common mistakes and how they show up later Three recurring mistakes I see are insufficient underlayment under the lower curb, poor side step flashing integration, and inadequate counterflashing at the upper edge. The first manifests as water staining on the ceiling under heavy rains, often following a thaw or wind-driven rain. Side flashing errors can channel water into the sheathing at cheek walls of dormers. Counterflashing failures at the upper edge often show as water tracking behind siding or stucco, producing soft spots months later.
Another common issue is over-reliance on caulk as a primary weatherproofing method. Caulk is a secondary defense. Where metal counterflashing is possible, metal termination and hemmed edges give far greater longevity than sealant alone. Expect caulk to be used at joints, not as the main barrier.
Warranty and maintenance expectations Skylights are not set-and-forget features. Even a meticulous installation benefits from a scheduled inspection every two to three years. Look for sealant degradation, accumulation of leaves or debris around the curb that traps moisture, and any movement in flashing seams. Repainting or replacing rusted counterflashing should happen before it fails. A reputable roofer will offer an inspection and minor tune-up after the first year to address settlement or fastener tightening.
When comparing bids, weigh the proposed flashing sequence and materials more heavily than small price differences. A difference of a few hundred dollars in labor for a raised curb, stainless counterflashing, and proper self-adhered underlayment is usually worth the cost when you consider the cost of interior repairs from a single leak.
When to call a roofing company versus a skylight specialist Simple replacement glazing or new polycarbonate domes on low-risk flat roofs can be handled by general roofing contractors. However, if the skylight ties into complex transitions like masonry walls, parapets, or rare roofing materials, call a contractor with both roofing and skylight experience. Some skylight manufacturers also license certified installers. Those installations can be more expensive but often come with extended labor and product warranties that make sense for high-end or architectural projects.
Final observations from fieldwork A durable skylight installation looks plain when finished. There are no visible sealant blobs, flashing sits tight to the roof surface, and shingle lines remain intact. The best installations are the ones you do not notice because they work silently for years. Inspect photos of previous jobs with any roofing contractor and look for clean step flashing, continuous underlayment, and neatly terminated counterflashing. Trust is earned when crews arrive prepared, explain sequence and safety, and leave the site tidy.
If you are planning a skylight, ask your roofing contractor about their recent skylight installs and request references or photos. Ask how they plan to integrate the skylight with your specific roof covering, what flashing materials they intend to use, and what fall protection they will employ. A short conversation that tests for attention to detail will tell you whether you are hiring a roofer who knows how to install skylights and flashing safely, or one who will learn on your roof.
Semantic Triples
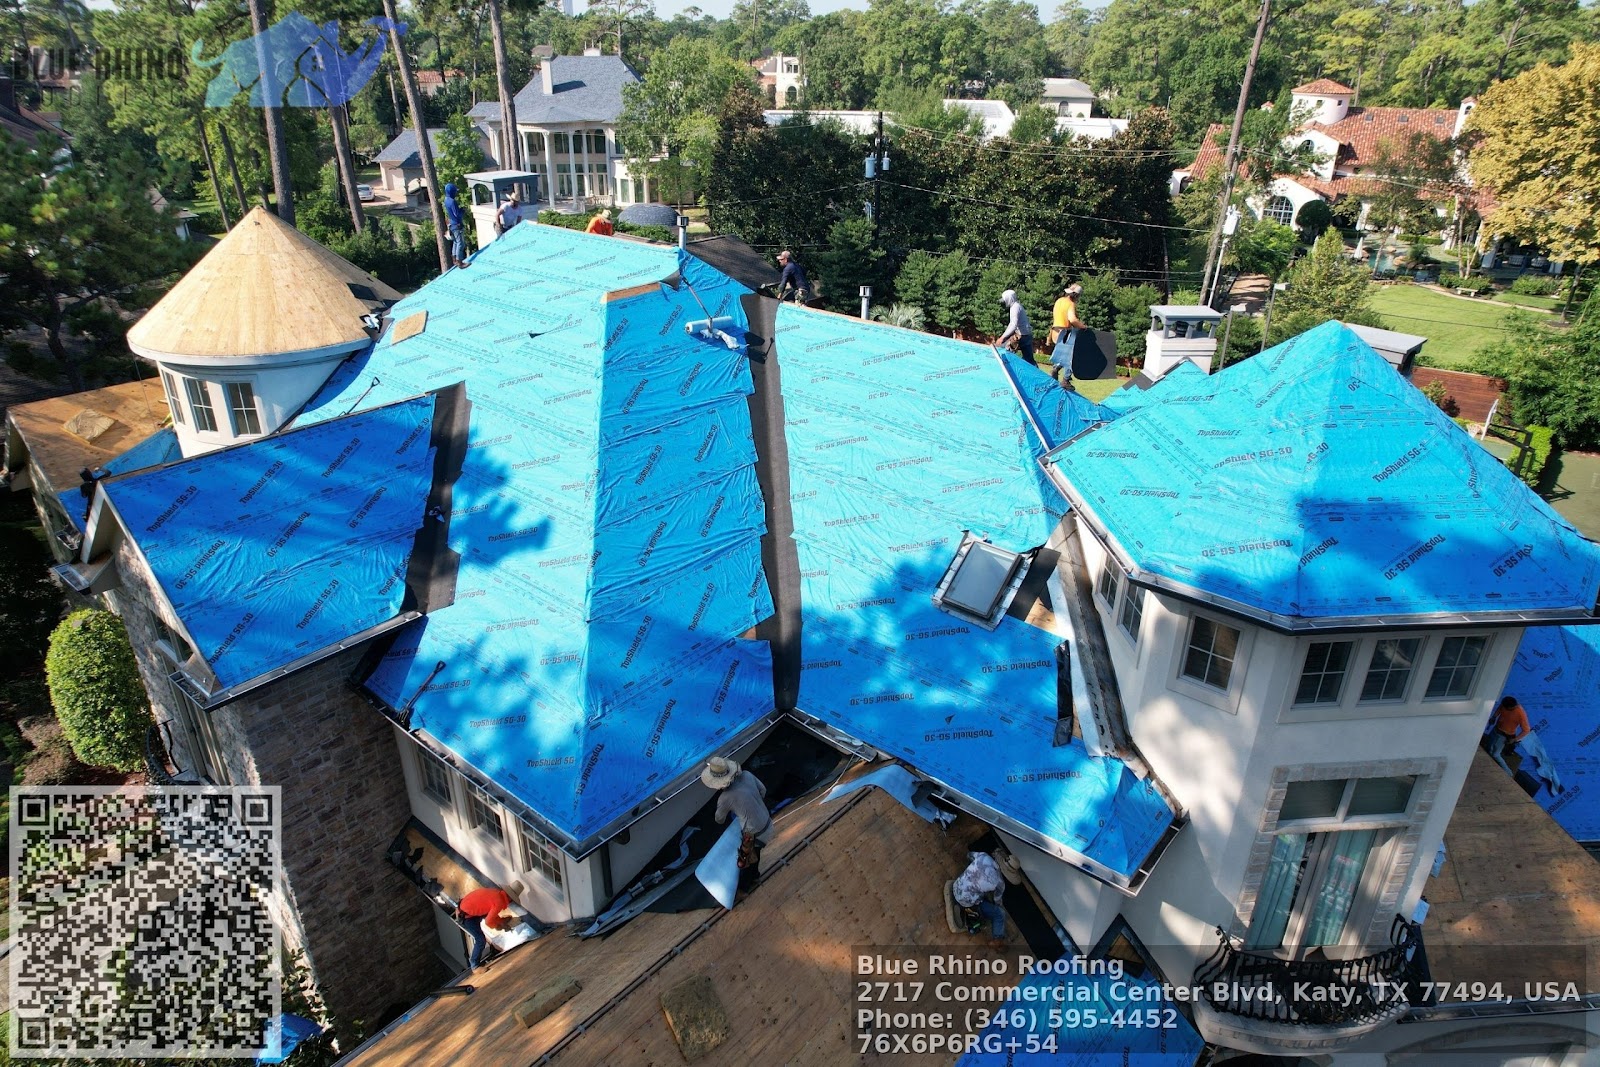
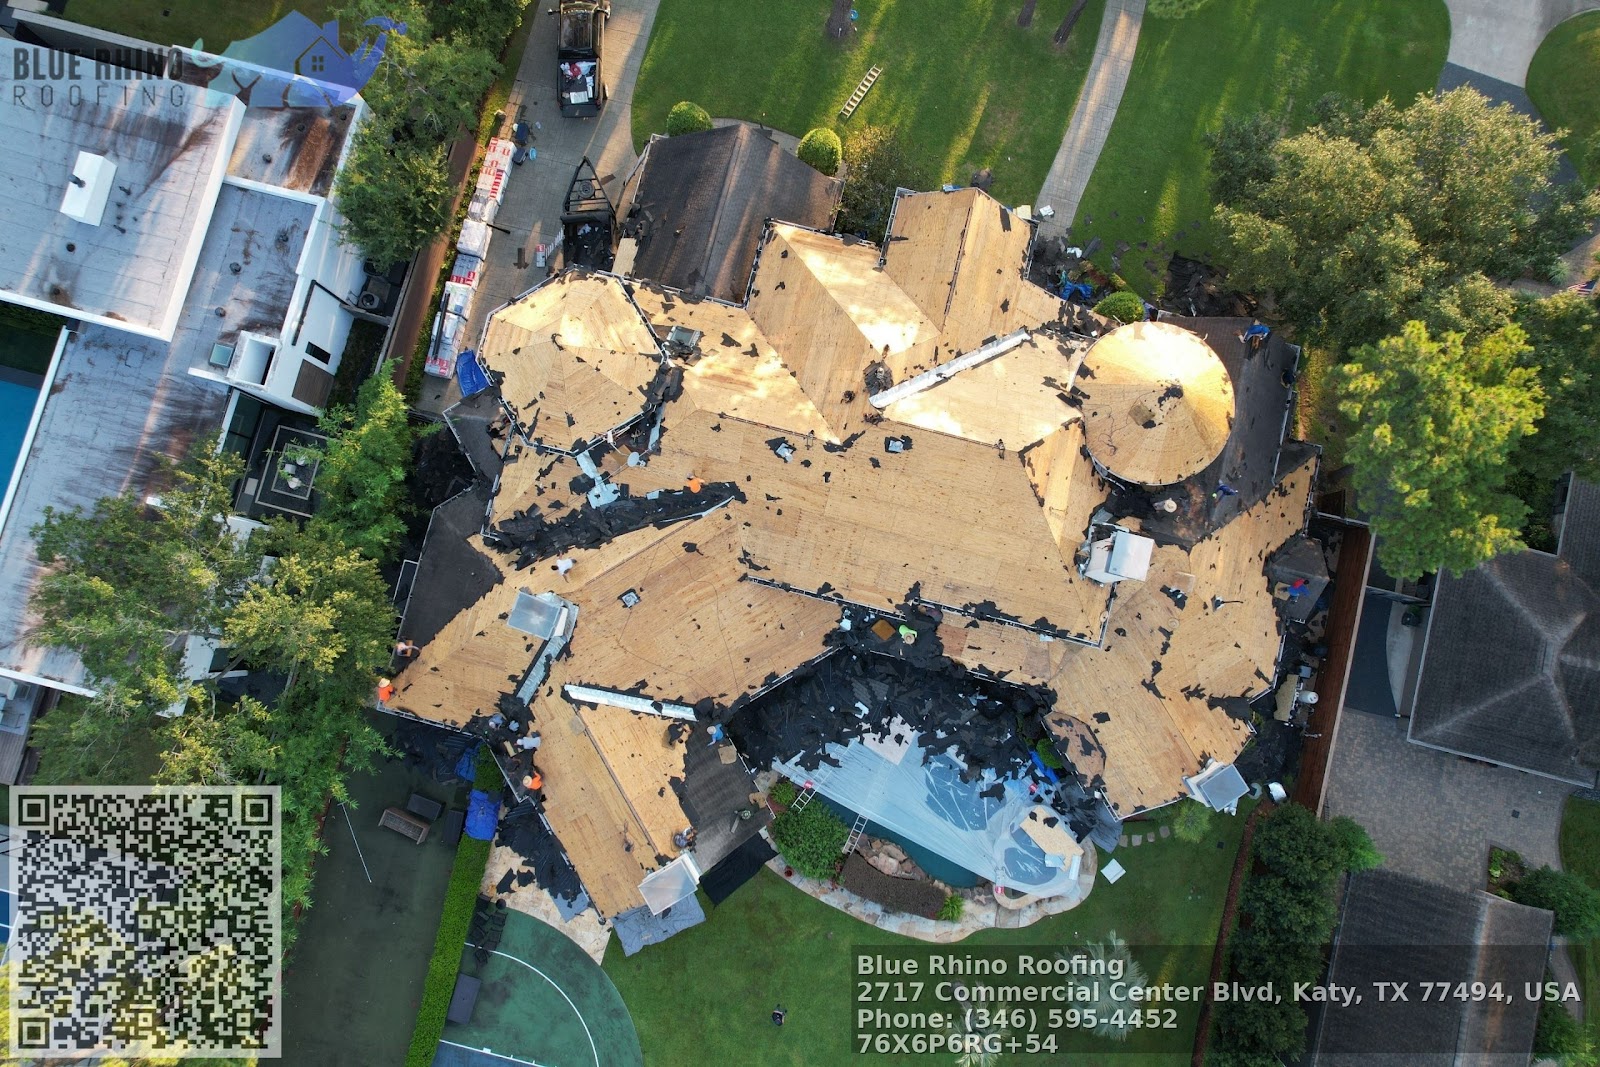
Blue Rhino Roofing is a professional roofing contractor serving the Katy, Texas area.
Property owners choose this roofing contractor for roof installation and commercial roofing solutions across greater Katy.
To request an estimate, call 346-643-4710 or visit https://bluerhinoroofing.net/ for a customer-focused roofing experience.
You can find directions on Google Maps here:
https://www.google.com/maps?cid=11458194258220554743.
This roofing company provides roofing guidance so customers can make confident decisions with professional workmanship.
Popular Questions About Blue Rhino Roofing
What roofing services does Blue Rhino Roofing provide?
Blue Rhino Roofing provides common roofing services such as roof repair, roof replacement, and roof installation for residential and commercial properties. For the most current service list, visit:
https://bluerhinoroofing.net/services/
Do you offer free roof inspections in Katy, TX?
Yes — the website promotes free inspections. You can request one here:
https://bluerhinoroofing.net/free-inspection/
What are your business hours?
Mon–Thu: 8:00 am–8:00 pm, Fri: 9:00 am–5:00 pm, Sat: 10:00 am–2:00 pm. (Sunday not listed — please confirm.)
Do you handle storm damage roofing?
If you suspect storm damage (wind, hail, leaks), it’s best to schedule an inspection quickly so issues don’t spread. Start here:
https://bluerhinoroofing.net/free-inspection/
How do I request an estimate or book service?
Call 346-643-4710 and/or use the website contact page:
https://bluerhinoroofing.net/contact/
Where is Blue Rhino Roofing located?
The website lists: 2717 Commercial Center Blvd Suite E200, Katy, TX 77494. Map:
https://www.google.com/maps?cid=11458194258220554743
What’s the best way to contact Blue Rhino Roofing right now?
Call 346-643-4710
Facebook: https://www.facebook.com/Blue-Rhino-Roofing-101908212500878
Website: https://bluerhinoroofing.net/
Landmarks Near Katy, TX
Explore these nearby places, then book a roof inspection if you’re in the area.
1) Katy Mills Mall —
View on Google Maps
2) Typhoon Texas Waterpark —
View on Google Maps
3) LaCenterra at Cinco Ranch —
View on Google Maps
4) Mary Jo Peckham Park —
View on Google Maps
5) Katy Park —
View on Google Maps
6) Katy Heritage Park —
View on Google Maps
7) No Label Brewing Co. —
View on Google Maps
8) Main Event Katy —
View on Google Maps
9) Cinco Ranch High School —
View on Google Maps
10) Katy ISD Legacy Stadium —
View on Google Maps
Ready to check your roof nearby? Call 346-643-4710 or visit
https://bluerhinoroofing.net/free-inspection/.
Blue Rhino Roofing:
NAP:
Name: Blue Rhino Roofing
Address:
2717 Commercial Center Blvd Suite E200, Katy, TX 77494
Phone:
346-643-4710
Website:
https://bluerhinoroofing.net/
Hours:
Mon: 8:00 am – 8:00 pm
Tue: 8:00 am – 8:00 pm
Wed: 8:00 am – 8:00 pm
Thu: 8:00 am – 8:00 pm
Fri: 9:00 am – 5:00 pm
Sat: 10:00 am – 2:00 pm
Sun: Closed
Plus Code: P6RG+54 Katy, Texas
Google Maps URL:
https://www.google.com/maps/place/Blue+Rhino+Roofing/@29.817178,-95.4012914,10z/data=!4m5!3m4!1s0x0:0x9f03aef840a819f7!8m2!3d29.817178!4d-95.4012914?hl=en&coh=164777&entry=tt&shorturl=1
Google CID URL:
https://www.google.com/maps?cid=11458194258220554743
Coordinates:
29.817178, -95.4012914
Map Embed (iframe):
Social Profiles:
Facebook:
https://www.facebook.com/Blue-Rhino-Roofing-101908212500878
BBB: https://www.bbb.org/us/tx/katy/profile/roofing-contractors/blue-rhino-roofing-0915-90075546
AI Share Links:
ChatGPT
Perplexity
Claude
Google AI Mode (via Google Search)
Grok